


01 Comparison of 4 Press-On Nail Adhesives
How to apply and remove press on nails effectively hinges on choosing the right adhesive, and this comparison outlines four top options: Quick-Use New Jell-O Gel, UV Jell-O Gel (Daily Commute), UV Glue (Salon-Like Long Wear), and Regular Nail Glue. It covers key factors like reusability, nail-friendliness, transparency, wear time (3-7 days to 3-4 weeks), water resistance, application (UV need, time, ease), and removal requirements. The quick-use gel is gentle for short-term looks, UV jelly gel balances low damage and daily wear, UV glue offers long-lasting security, and regular glue provides strong adhesion for single-use. Use the table below to compare their features and ratings at a glance.
|
Category |
A. Quick-Use New Jell-O Gel |
B. UV Jell-O Gel (Daily Commute) |
C. UV Glue (Salon-Like Long Wear) |
D. Regular Nail Glue |
|
Reusable? |
Yes ⭐⭐⭐⭐⭐ |
Yes ⭐⭐⭐⭐⭐ |
Yes ⭐⭐⭐⭐⭐ |
No (single-use if tips break) ⭐ |
|
Harms Natural Nails? |
No (gentle) ⭐⭐⭐⭐⭐ |
No (low damage) ⭐⭐⭐⭐⭐ |
Mild damage ⭐⭐⭐ |
Yes ⭐ |
|
Transparency & Softness |
Not mentioned ⭐⭐⭐ |
High transparency; jelly-soft ⭐⭐⭐⭐⭐ |
High transparency ⭐⭐⭐⭐⭐ |
Low transparency; hardens tips ⭐⭐ |
|
Wear Time |
Short (3-7 days) ⭐⭐ |
Moderate (1-2 weeks) ⭐⭐⭐⭐ |
Longest (3-4 weeks) ⭐⭐⭐⭐⭐ |
Short (quick use) ⭐⭐ |
|
Water-Resistant & Secure |
Not water-resistant; easy to peel ⭐⭐ |
Water-resistant; secure (if applied right) ⭐⭐⭐⭐ |
Water-resistant; won’t peel (typing/cooking) ⭐⭐⭐⭐⭐ |
Extremely secure; not water-resistant ⭐⭐⭐⭐ |
|
Application (UV? Time? Ease?) |
No UV; 15 mins; easy ⭐⭐⭐⭐⭐ |
Needs UV; fast; needs practice ⭐⭐⭐ |
Needs UV; needs practice ⭐⭐⭐ |
No UV; 10 mins; easy ⭐⭐⭐⭐⭐ |
|
Removal (Needs Remover?) |
No (gentle) ⭐⭐⭐⭐⭐ |
Yes ⭐⭐⭐ |
Yes ⭐⭐⭐ |
Yes ⭐⭐ |
|
Overall Rating |
⭐⭐⭐⭐ |
⭐⭐⭐⭐⭐ |
⭐⭐⭐⭐⭐ |
⭐⭐⭐ |
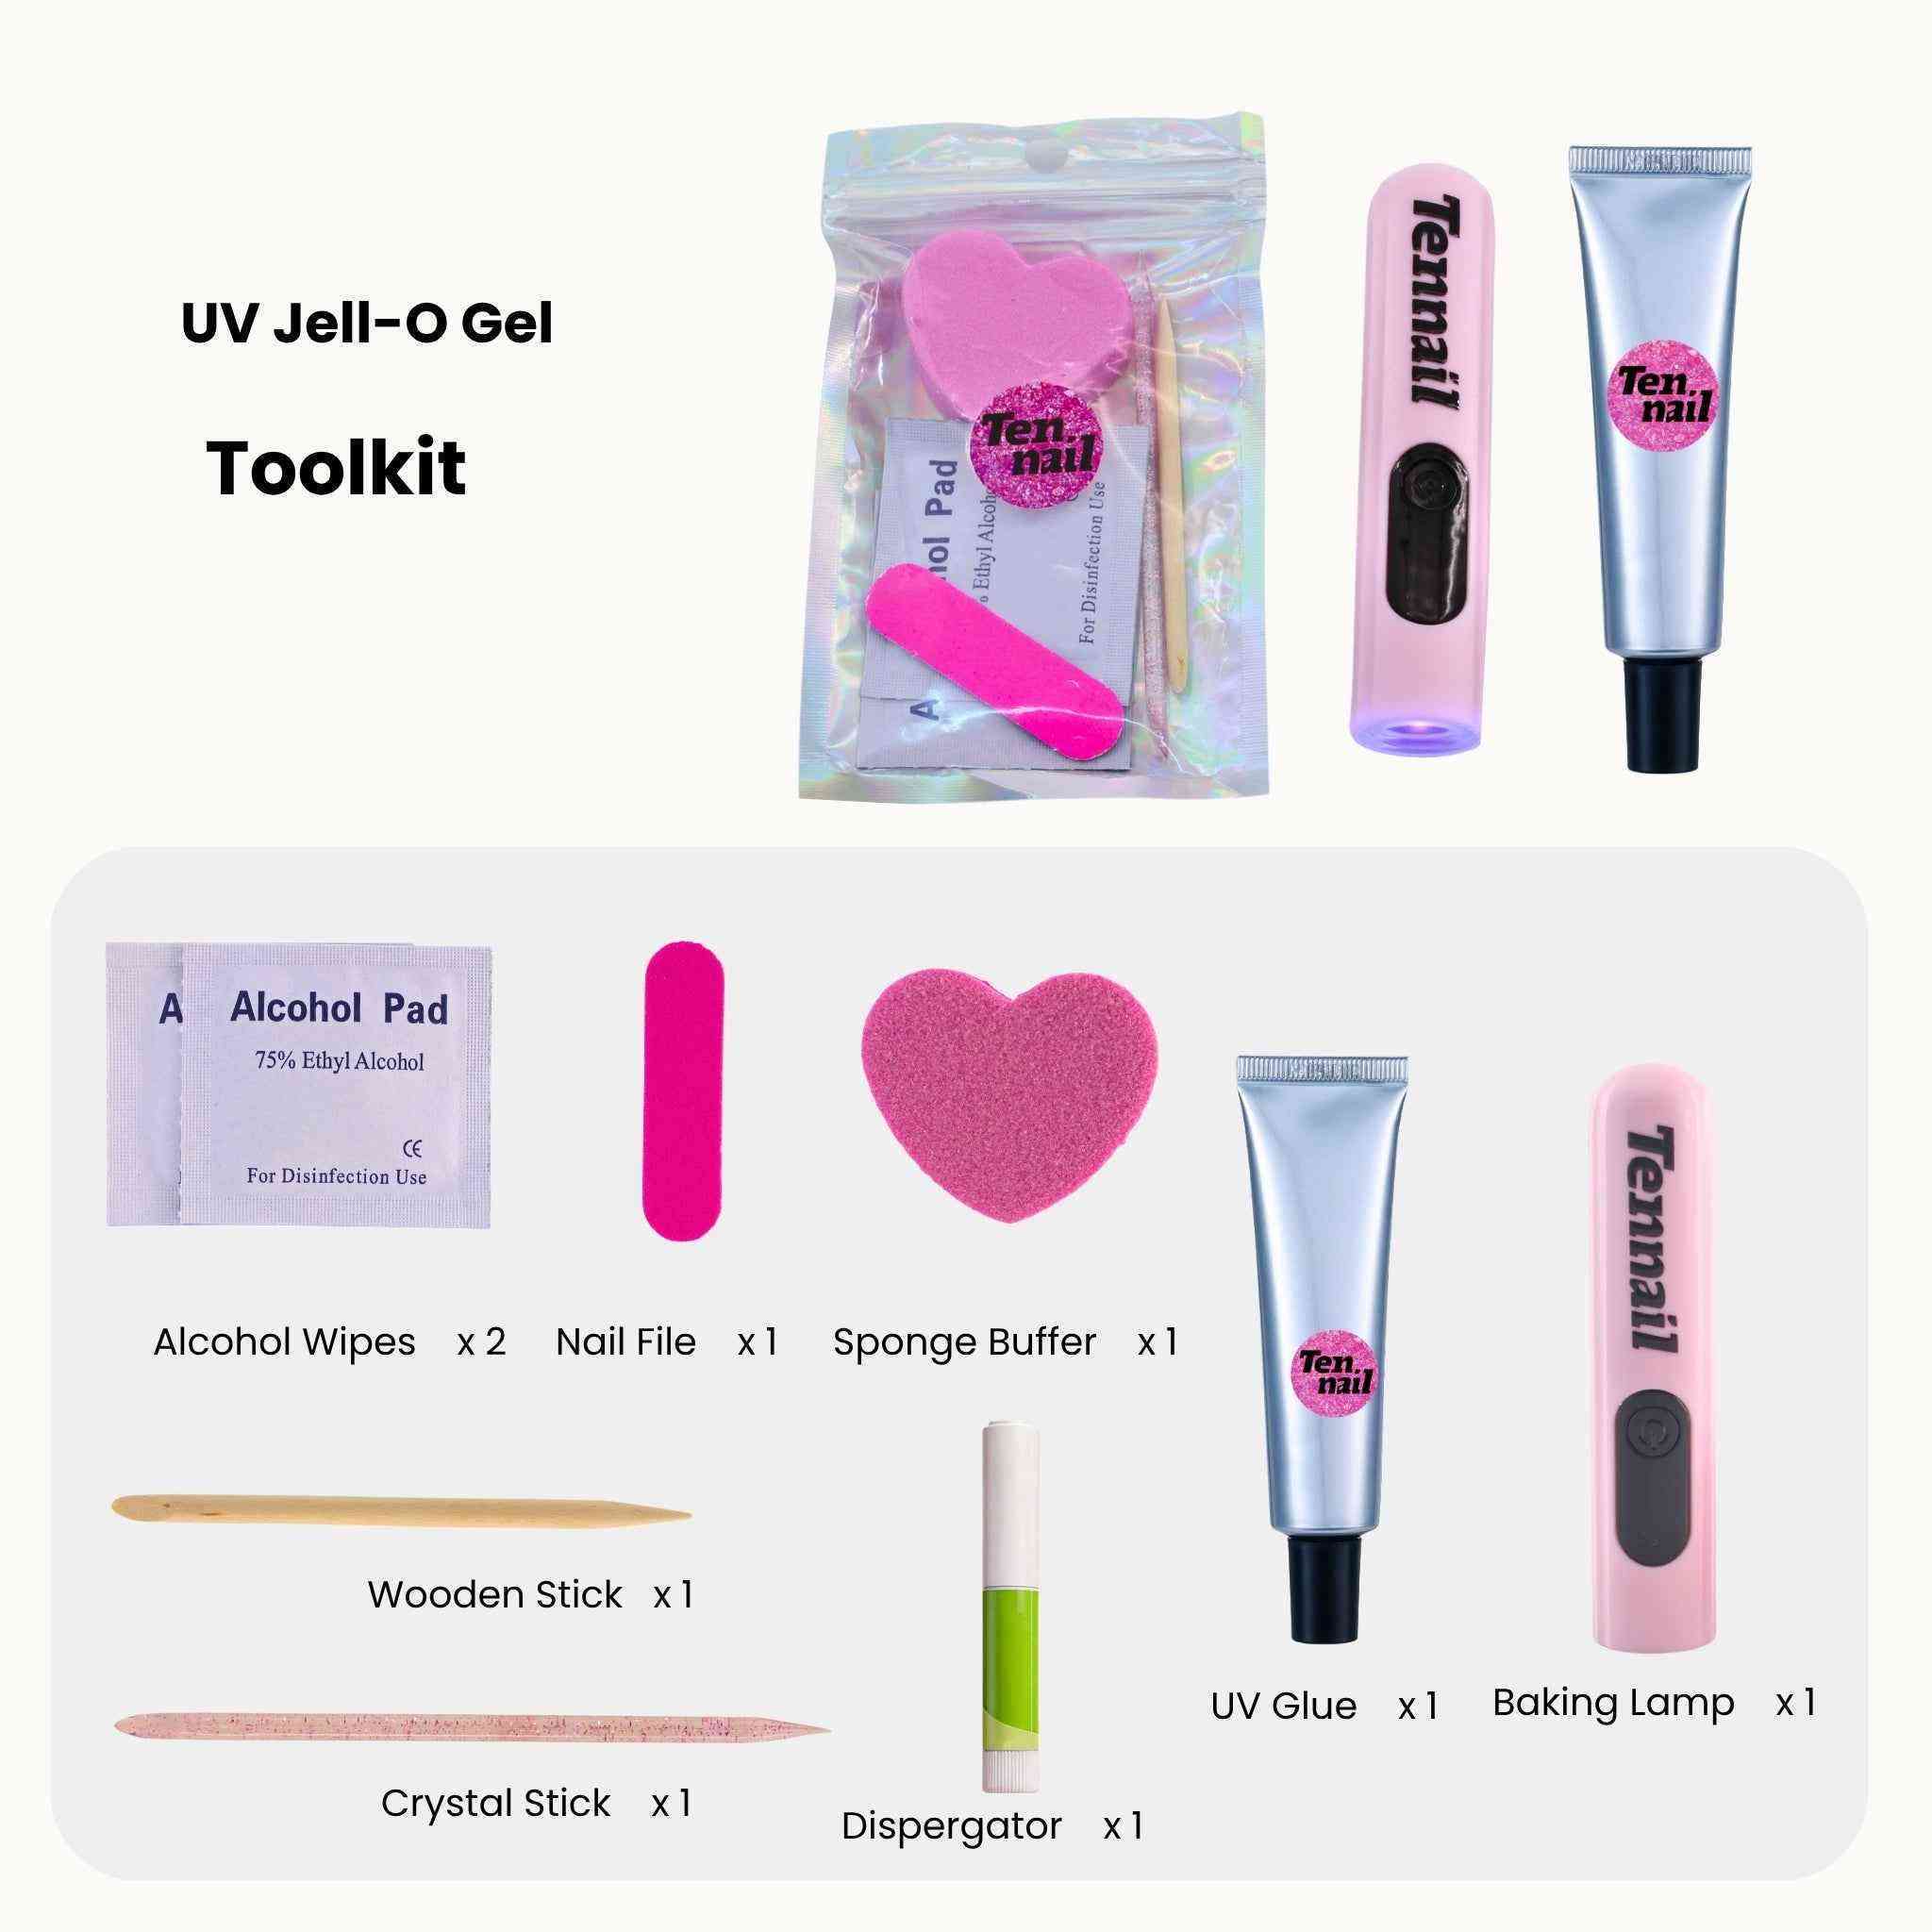
02 A. Quick-Use New Jell-O Gel Toolkit
How to Apply
1. Clean hands thoroughly with soap or hand sanitizer to remove oil, sweat, and hand cream residue (oil ruins adhesion—don’t skip this!).
2. Trim natural nails to leave 1-2mm of the nail bed (no longer than the fingertip) to avoid visible lines with light-colored press-ons.
3. Push back cuticles gently with a wooden stick (stop if it hurts) and trim hangnails.
4. lightly buff the nail surface with a fine file to boost grip.
5. Wipe nails with an alcohol pad (or wet wipe) to clean dust and disinfect.
6. Choose a jelly gel 1-2mm smaller than your nail (prioritize smaller if no perfect fit) and stick it adhesive-side down.
7. Press from the nail root to the tip (middle first, then edges) to expel air; optionally, heat with a hair dryer for 3-5 seconds and press again.
8. Peel off the gel’s backing (avoid touching the adhesive) and align the press-on at a 45° angle with the cuticle (leave 1-2mm gap). Push forward gently and press firmly for 10-15 seconds, focusing on edges and roots for full adhesion.
How to Remove
1. Soak nails in warm water for 3-5 minutes to soften the jelly gel.
2. Gently lift the press-on from the edge with a wooden stick; soak for another 30 seconds if it’s too sticky.
3. Use the stick’s tip to roll off residual gel from natural nails and press-ons.
4. Wipe press-ons with an alcohol pad to clean for reuse; apply cuticle oil or hand cream to nourish natural nails.

* Each Tennial nail art comes with a free tool kit, meeting the needs for four applications. If you need additional New Jell-O Gel for more applications, you can click to purchase.
Pro Tips
- Avoid water for 2 hours after application—sleeping with press-ons helps the gel set fully.
- This toolkit can’t be shipped alone; it must be purchased with our press-on nail products.
- If edges lift, stick a small piece of cut jelly gel on the lifted area for reinforcement.
03 B. UV Jell-O Gel for Daily Commutes
How to Apply
1. Follow steps 1-4 from the Quick-Use Jell-O Gel application (clean, trim, push cuticles, buff, and disinfect).
2. Select a jelly gel 1-2mm smaller than your nail, stick it on, and press from root to tip to expel air.
3. Peel off the gel’s backing and align the press-on at a 45° angle with the cuticle (leave 1-2mm gap).
4. Push forward and press firmly for 10-15 seconds to ensure no gaps.
5. Cure with the UV Baking Lamp for 1-2 minutes until the gel is dry (choose 30/60-second timer modes as needed).
How to Remove
1. Spray nail remover on the press-on edge and wait 10 seconds.
2. Gently pry open a gap with a wooden stick and spray more remover into the gap.
3. Wait until the gel softens, then peel off the press-on slowly.
4. Roll off residual gel with the stick’s tip; clean press-ons with an alcohol pad for reuse.
5. Nourish natural nails with cuticle oil or hand cream after removal.

Nail Toolkit with UV Jell-O Gel | Nail Glue for Fake Nails reusable Press on nails by Tennail
Pro Tips
- Store the gel away from light to maintain its quality; opt for Set B if you don’t have a UV lamp.
- This toolkit can’t be shipped alone—pair it with our press-on nails for best results.
- Practice alignment before curing; adjust quickly if the press-on shifts (don’t move it after curing starts).
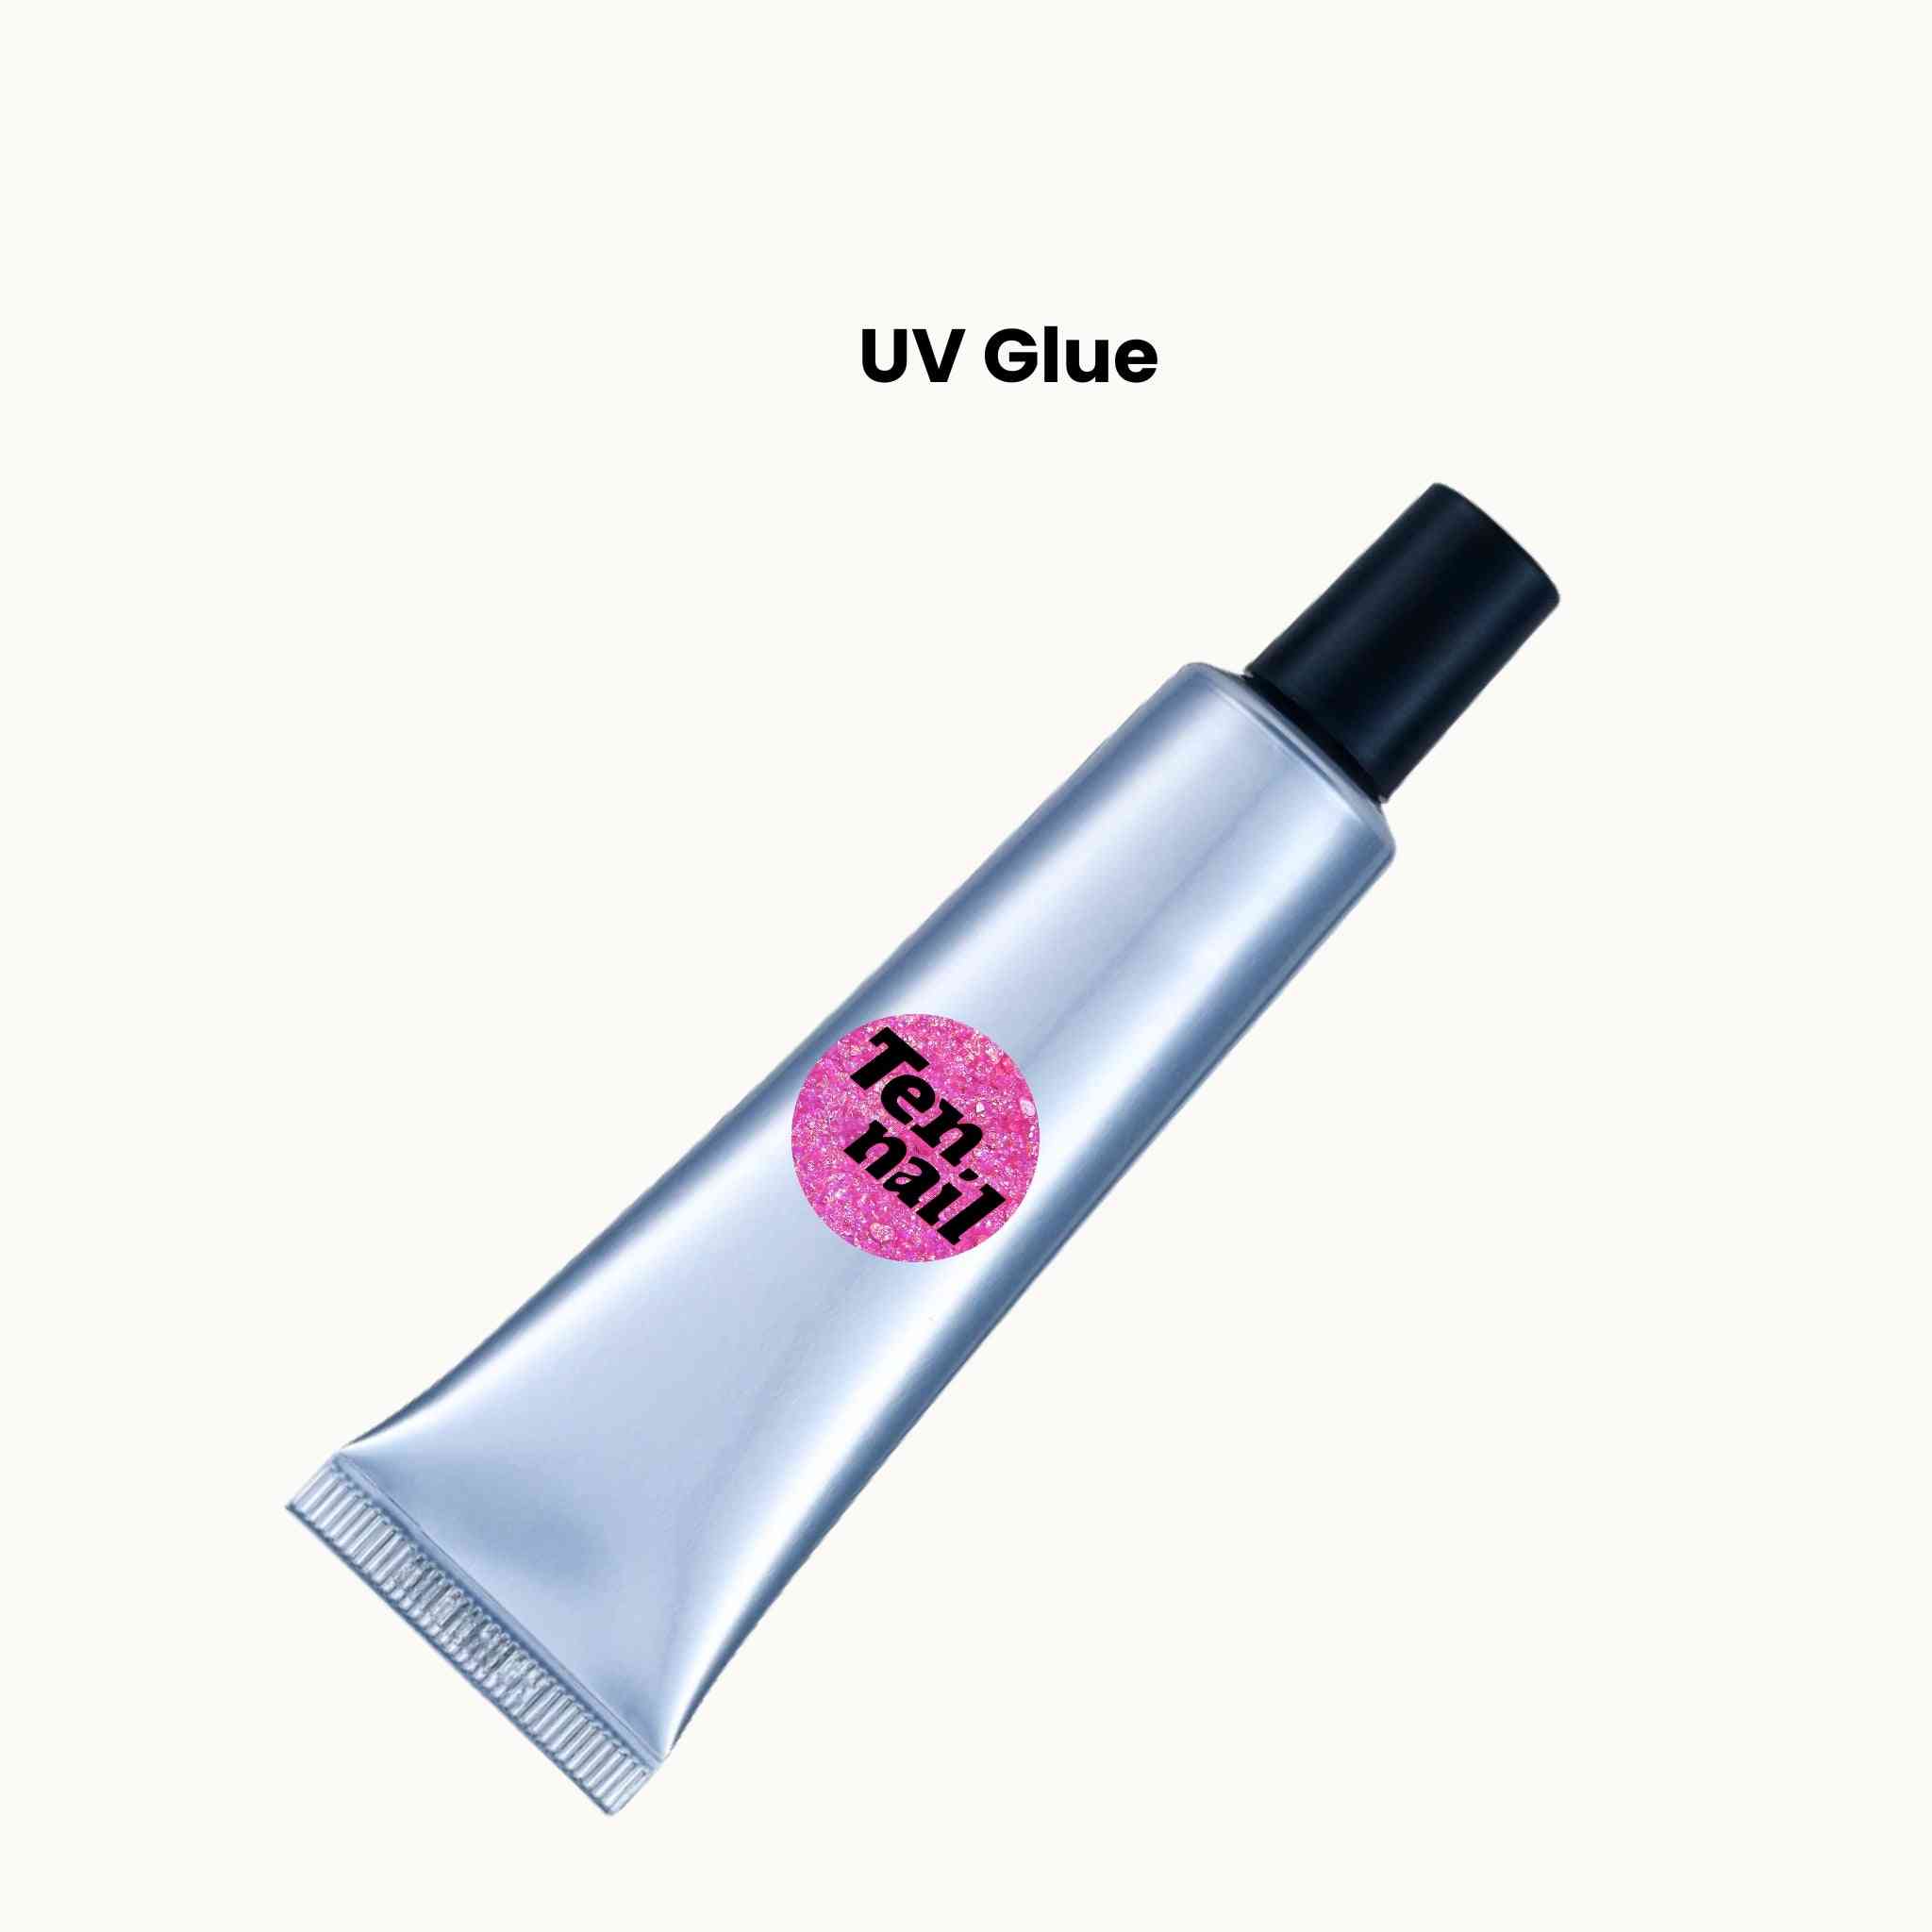
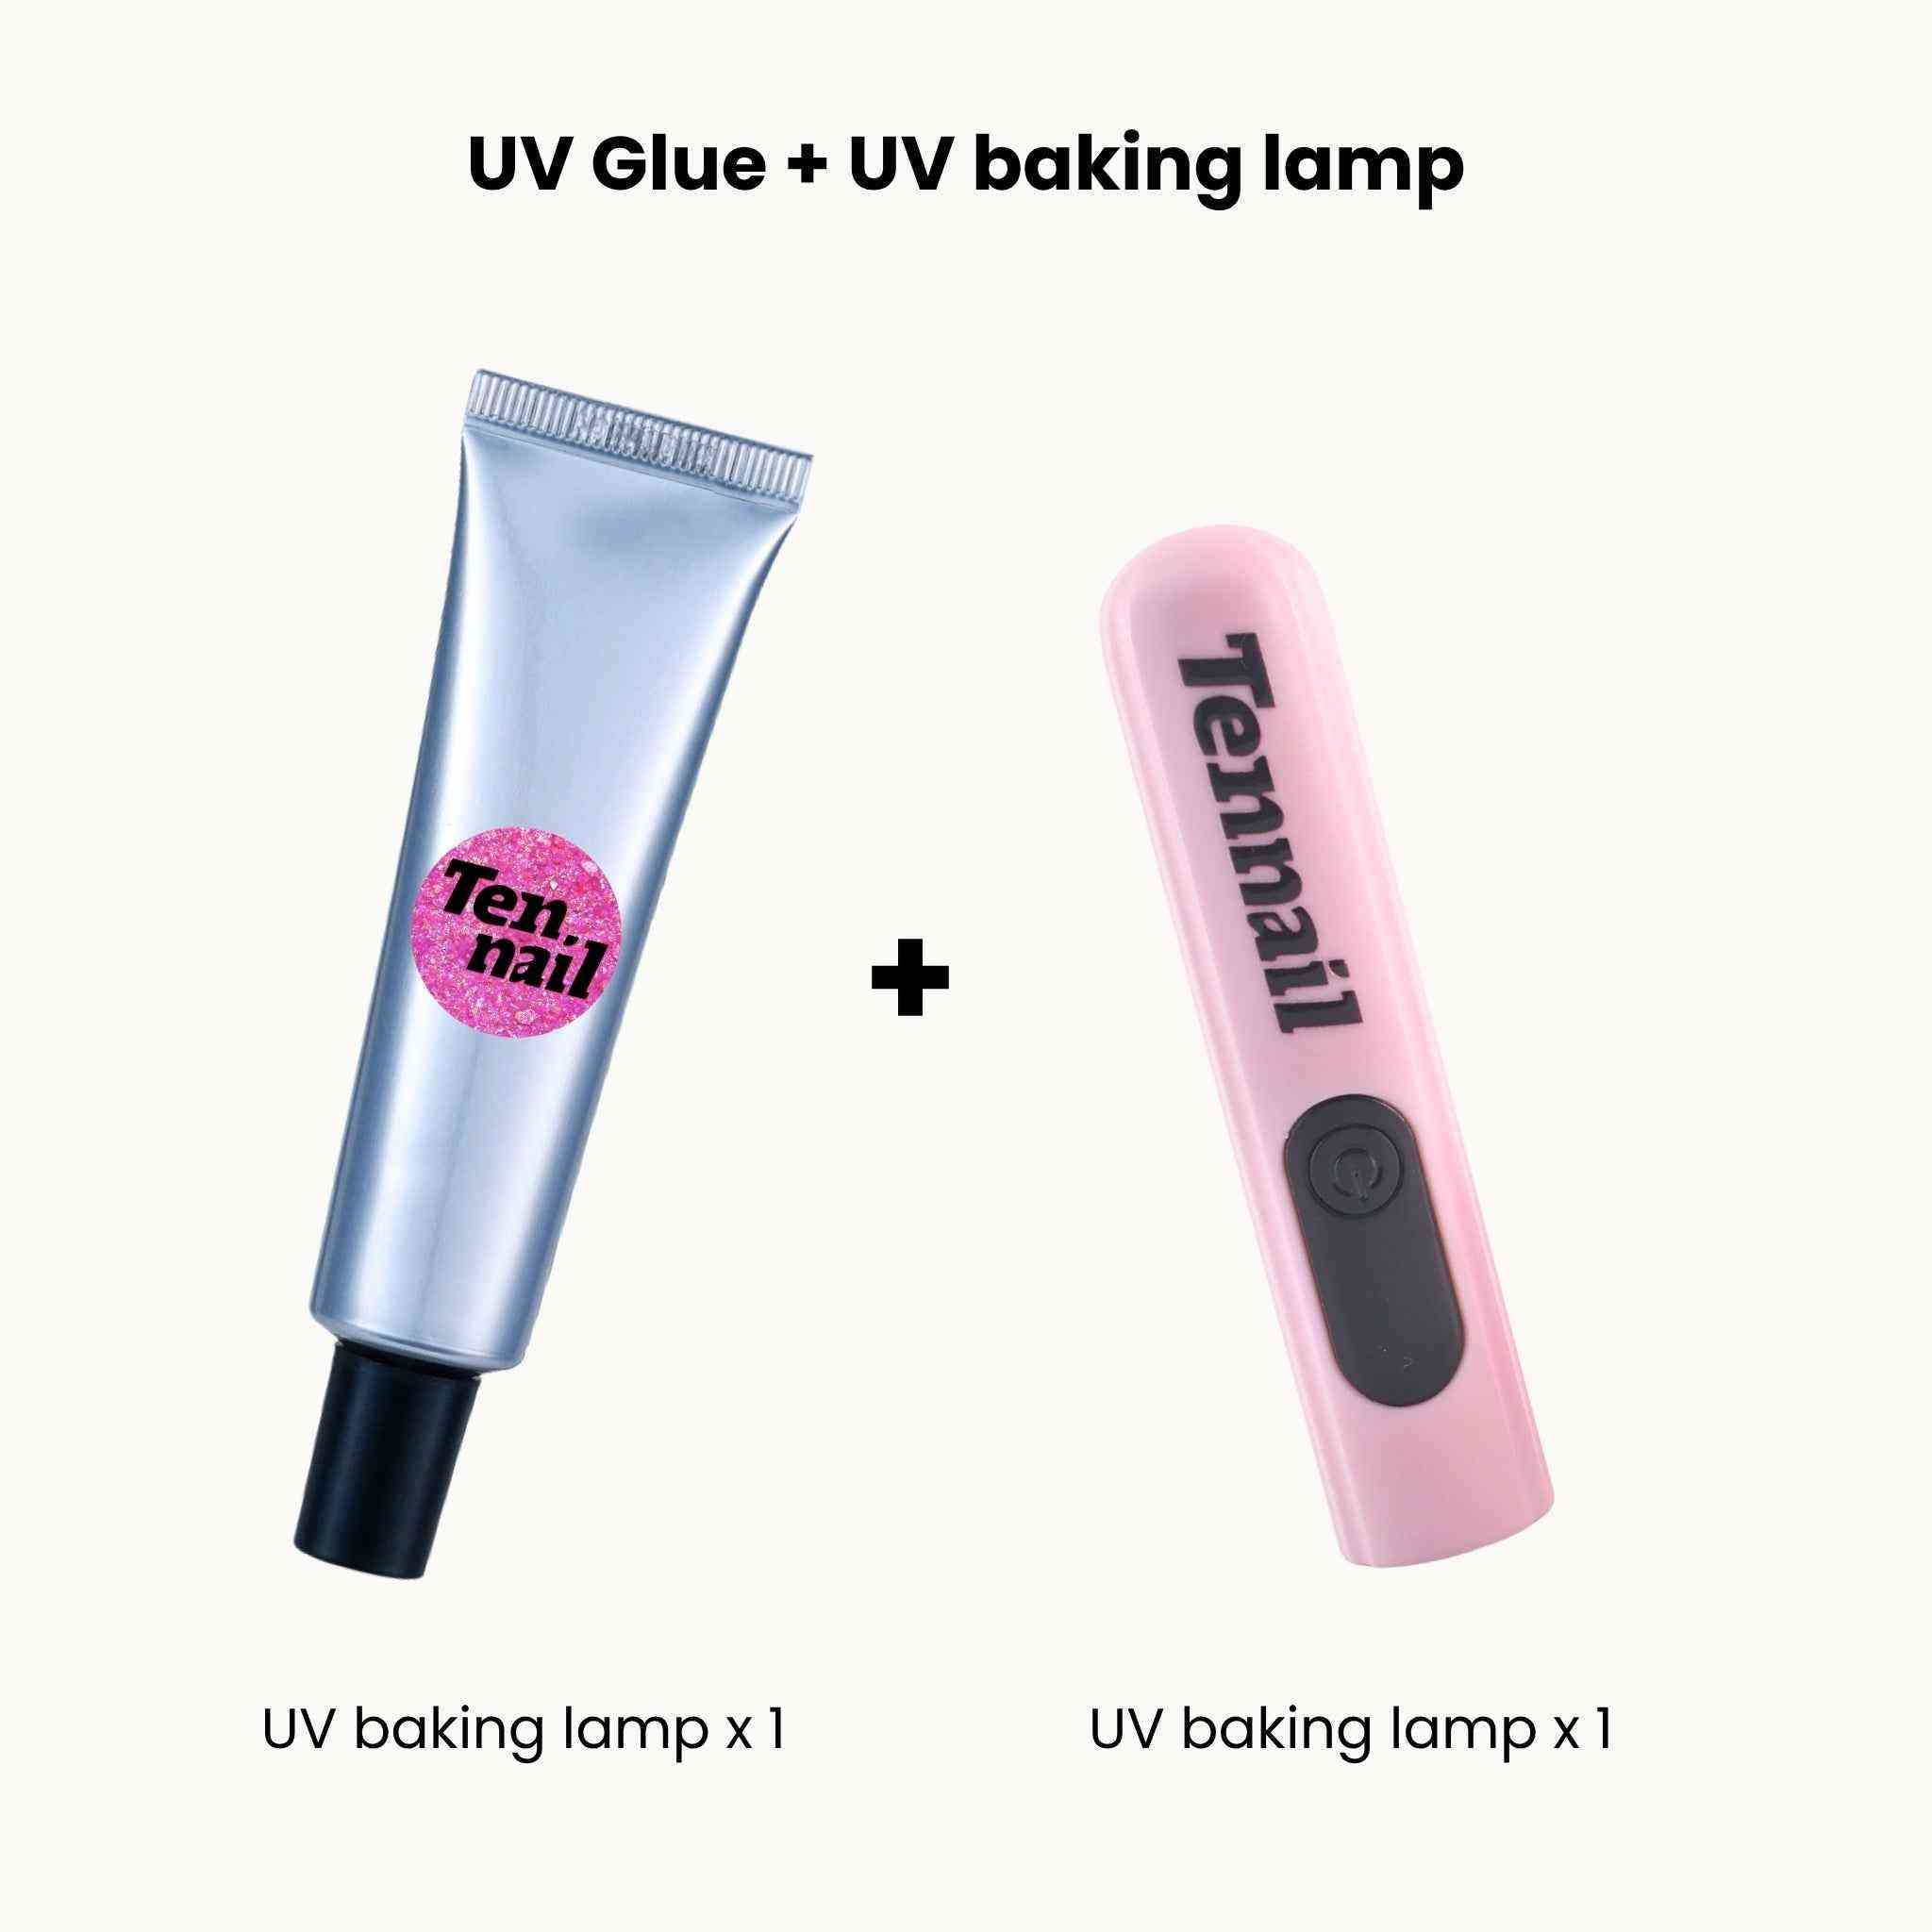
04 C. UV Glue for Salon-Like Long Wear
How to Apply
1. Repeat steps 1-4 from the Quick-Use Jell-O Gel application (clean, trim, push cuticles, buff, disinfect).
2. Squeeze a small amount of UV glue onto the press-on’s inner edge (about 1/3 the size of your natural nail—avoid overapplying to prevent oozing).
3. Hold the press-on and spread the glue evenly by scraping from the back edge to the tip.
4. Align at a 45° angle with the cuticle (leave 1-2mm gap), push forward, and press firmly for 5 seconds.
5. Cure with the UV Baking Lamp【https://tennail.com/products/uv-baking-lamp】 for 10 seconds to fix the position.
6. Scrape off excess glue with a wooden stick and clean the nail surface with an alcohol pad.
7. Cure again for 1-2 minutes (ensure all sides are exposed to the lamp).
How to Remove
1. Spray nail remover on the press-on and wait 10 seconds.
2. Pry open a small gap with a wooden stick, spray more remover into it, and wait 30 seconds.
3. Peel off the press-on slowly once the glue softens (never force it to avoid nail damage).
4. For stubborn residual glue, spray more remover and gently push it off with the stick.
5. Clean press-ons with an alcohol pad for reuse; apply cuticle oil to nourish natural nails.
Pro Tips
- Store the UV glue away from light; use Set B if you don’t have a UV lamp.
- This toolkit must be purchased with our press-on nails (can’t be shipped alone).
- The glue offers salon-like wear—perfect for business trips or travels where frequent touch-ups aren’t possible.

UV Glue | Nail Glue for Press on Nails reusable Press on nails by Tennail
05 D. Regular Nail Glue
How to Apply
1. Clean natural nails with alcohol to remove oil and dust (this is the best way to apply press on nails with glue for hold).
2. Trim nails to 1-2mm of the nail bed and lightly buff the surface to enhance adhesion.
3. Apply a thin layer of regular nail glue to the back of the press-on (too much causes oozing and uneven adhesion).
4. Align the press-on with the cuticle (leave 1mm gap), push forward, and press firmly for 10-15 seconds.
5. Wipe off any excess glue immediately with a damp cloth; avoid water for 1 hour to let the glue set.
How to Remove
1. Soak a cotton pad in acetone, wrap it around the press-on nail, and secure with aluminum foil.
2. Let it sit for 10-15 minutes to soften the glue—this makes how to take off press on nail glue much easier.
3. Gently peel off the press-on; if there’s residual glue, use a cuticle pusher to scrape it off (don’t scratch your natural nails).
4. If you want to know how to take off press on nails without acetone, soak nails in warm soapy water for 20 minutes instead, then peel carefully.
5. Wash hands thoroughly and apply cuticle oil to nourish natural nails after removal.

Pro Tips
- Always apply a thin layer of glue—thick glue takes longer to dry and is more likely to ooze.
- To learn how to apply press-on nails to last longer with regular glue, avoid heavy tasks (like washing dishes) for the first 24 hours.
- Regular nail glue is not reusable—once removed, the press-on will have leftover glue that’s hard to clean, so it’s better for single-use.
- If glue gets on your skin, wipe it off immediately with acetone (or warm soapy water if you don’t have acetone).
FAQ: How to apply and remove press on nails
1. How to apply press-on nails to last longer, no matter the adhesive?
Clean nails thoroughly (alcohol works best), avoid water for 1-2 hours post-application, and pick the right adhesive (UV glue for 3-4 weeks, jelly gel for 3-7 days).
2. Can I take off all press-on nails without acetone?
Yes! For jelly gel, soak in warm water 3-5 mins; for UV adhesives, use remover spray. Only regular glue needs acetone, but warm soapy water (20 mins soak) works too.
3. What’s the best way to apply press on nails with glue (regular or UV)?
Prep nails (trim, buff, clean), apply thin glue, align press-ons with 1-2mm gap at cuticles, press 10-15 secs—cure UV glue with a UV lamp for 1-2 mins.
4. Which press-on nail adhesive is reusable, and which is single-use?
Jelly gel, UV Jell-O gel, and UV glue are reusable (clean residual glue with alcohol). Regular glue is single-use—leftover glue is hard to remove.
5. Do I need a UV lamp for all press-on nail adhesives?
No. Only UV Jell-O gel and UV glue need a UV lamp. Quick-use jelly gel and regular glue work without it—great for beginners or last-minute manicures.
Complete tutorial from Tennail Studio
A. New Jell-O Gel
1. Clean Hands – Ensure No Oil Residue
① Trim your natural nails (it’s recommended to leave 1-2mm of the nail bed, not exceeding the fingertip) to avoid obvious and unnatural gaps between your natural nails and press-ons when wearing light-colored press-on nails.
② Wash your hands thoroughly with hand soap or body wash to remove oil, sweat, and hand cream residue from your nails (oil directly affects the jelly gel’s adhesion—this step can’t be skipped).
2. Prep Nail Surface – Boost Adhesion
① Use the flat side of a wooden stick to gently push back the cuticles at the rear edge of your nails; don’t push too deep (stop if you feel pain). Then trim the cuticles neatly with small scissors to prevent them from causing poor fit between the press-ons and your natural nails.
② Also handle any hangnails around the nail edges.
③ Lightly buff the nail surface with a fine nail file (only sand the “top layer” of the nail, no need to thin the nail itself) to increase surface roughness, making the jelly gel stick better.
④ Wipe the surface of your natural nails with an alcohol pad to remove oil and dust—this also works as disinfection (a wet wipe can be used as a substitute if you don’t have an alcohol pad).
3. Choose the Right Jelly Gel Size – Smaller Is Better to Avoid Oozing
① Take out the kraft paper-backed jelly gels.
② Match the width of each finger’s nail and select a jelly gel that’s “1-2mm smaller than your nail” (compare horizontally and vertically to find the most suitable one).
③ If there’s no perfectly matching size, prioritize a smaller one (larger jelly gels tend to extend beyond the nail edge and lift after application; smaller ones can be stuck in the center without affecting adhesion).
4. Peel and Apply the Gel – Precise Alignment & Press to Expel Air
① Stick the jelly gel (adhesive side down) onto your nail, then gently press from the nail root toward the fingertip (press the middle first, then the edges) to expel air under the gel.
② The jelly gel has a certain thickness and flexibility; use the flat side of a wooden stick or your hand to push the edges outward to ensure the jelly gel covers the entire nail surface.
③ Use a hair dryer to blow warm air on the gel for 3-5 seconds—after blowing, press again to make the jelly gel more adhesive (this is an optional step).
④ Pinch the protruding kraft paper part of the jelly gel and gently peel off one side of the backing (be careful not to touch the adhesive side of the jelly gel to avoid getting oil on it).
⑤ At this point, the jelly gel will be fully attached to your natural nail—keep your nails flat and prepare to apply the press-ons.
5. Apply Press-On Nails – Align the Curve & Press Step-by-Step
① Take the press-on corresponding to the target finger (first clean off dust and oil from the press-on), then check the “curve” of the press-on (the curve of the press-on should match that of your natural nail; if they don’t match, gently bend the press-on to adjust).
② Tilt the press-on at a 45° angle, align it with the rear edge of your nail (leave a 1-2mm gap), first stick the rear part and push it forward, then gently press the press-on flat toward the fingertip (avoid applying from the fingertip to the root, as this easily traps air bubbles).
③ Press the press-on firmly with your finger pad for 10-15 seconds (focus on pressing the edges and root of the press-on), and pay extra attention to pressing both sides to ensure the jelly gel fully adheres to both the press-on and your natural nail, with no gaps.
6. Final Check – Fix Edges & Extend Wear Time
① Check if each press-on has lifted edges: if the root is lifting, press it firmly again with your finger pad; if the edges are lifting, you can stick a small piece of cut small-sized jelly gel (cut it in half and stick it on the lifted area).
② Within 2 hours after application, try to avoid contact with water and heavy work (such as washing dishes or wringing towels) to allow the jelly gel to fully set. TIP: It’s recommended to apply the press-ons before bed to ensure 8 hours of water-free time!
7. Remove Press-Ons – Gentle Removal & Nail Care
① Prepare a cup of warm water and soak your nails completely in it for 3-5 minutes.
② Use the flat end of a crystal stick to slowly pry open the press-on from both sides of the nail surface; if it’s too sticky, soak for another 30 seconds until you can remove the entire press-on.
③ Use the tip of the crystal stick to roll off residual gel from both your natural nails and the press-ons; wipe the press-ons with an alcohol pad to clean them for reuse next time.
④ After washing your hands, apply nail oil—if you don’t have nail oil, you can apply hand cream instead to nourish your nails.
B. UV Jell-O Gel
1. Clean Hands – Ensure No Oil Residue
① Trim your natural nails (it’s recommended to leave 1-2mm of the nail bed, not exceeding the fingertip) to avoid obvious and unnatural gaps between your natural nails and press-ons when wearing light-colored styles.
② Wash hands thoroughly with hand soap or body wash to remove oil, sweat, and hand cream residue from nails (oil directly affects the jelly gel’s adhesion—this step can’t be skipped).
2. Prep Nail Surface – Boost Adhesion
① Use the flat side of a wooden stick to gently push back cuticles at the nail’s rear edge; don’t push too deep (stop if you feel pain). Trim them neatly with small scissors to prevent cuticles from causing poor fit with press-ons.
② Handle any hangnails around the nail edges as well.
③ Lightly buff the nail surface with a fine nail file (only sand the “top layer” of the nail, no need to thin the nail itself) to increase roughness, making the jelly gel stick better.
④ Wipe the natural nail surface with an alcohol pad to remove oil and dust, which also acts as disinfection (a wet wipe can be used as a substitute if no alcohol pad is available).
3. Choose the Right Jelly Gel Size – Smaller Is Better to Avoid Oozing
① Select a jelly gel that’s 1-2mm smaller than your nail width for each finger (compare horizontally and vertically to find the best fit).
② If there’s no perfectly matching size, prioritize a smaller one (larger jelly gels tend to extend beyond the nail edge and lift after application; smaller ones can be centered without affecting adhesion).
4. Peel and Apply the Gel – Precise Alignment & Press to Expel Air
① Stick the jelly gel (adhesive side down) onto your nail, then gently press from 1-2mm above the nail root toward the fingertip (press the middle first, then the edges) to expel air under the gel.
② The jelly gel has a certain thickness and flexibility; use the flat side of a wooden stick or your hand to push the edges outward to ensure full coverage of the nail surface.
③ Pinch the protruding part of the UV jelly gel and gently peel off one side of the backing (avoid touching the adhesive side with your hands to prevent oil contamination).
④ The jelly gel will now be fully attached to your natural nail; keep your nails flat and prepare to apply the press-on.
5. Apply the Press-On – Align the Curve & Press Step-by-Step
① Take the press-on corresponding to the finger (clean dust and oil from the press-on first), then check its “curve” (the press-on’s curve should match your natural nail’s curve; gently bend the press-on to adjust if they don’t match).
② Tilt the press-on at a 45° angle, align it with the nail’s rear edge (leaving a 1-2mm gap), push it forward slightly, then gently press it flat toward the fingertip (avoid applying from the fingertip to the root, as this easily traps air bubbles).
③ Press the press-on firmly with your finger pad for 10-15 seconds (focus on the edges and root of the press-on), especially pressing both sides to ensure the jelly gel fully adheres to both the press-on and natural nail with no gaps.
④ Take the UV Baking Lamp and cure the gel for 1-2 minutes until it’s completely dry.
6. Remove the Press-On – Nourish Natural Nails
① Spray nail remover on the fingertip and wait for about 10 seconds.
② Use the flat end of a crystal stick to slowly pry open a gap from the front, then spray more remover into the gap until the entire press-on can be removed.
③ Use the tip of the crystal stick to roll off residual gel from both the natural nail and press-on; wipe the press-on with an alcohol pad to clean it for reuse.
④ After washing hands, apply cuticle oil (or hand cream if no cuticle oil is available) to nourish the natural nails.
C. UV Glue
1. Clean Hands – Ensure No Oil Residue
① Trim your natural nails (it’s recommended to leave 1-2mm of the nail bed, not exceeding the fingertip) to avoid obvious and unnatural gaps between your natural nails and press-ons when wearing light-colored styles.
② Wash hands thoroughly with hand soap or body wash to remove oil, sweat, and hand cream residue from nails (oil directly affects the glue’s adhesion—this step can’t be skipped).
2. Prep Nail Surface – Boost Adhesion
① Use the flat side of a wooden stick to gently push back cuticles at the nail’s rear edge; don’t push too deep (stop if you feel pain). Trim them neatly with small scissors to prevent cuticles from causing poor fit with press-ons.
② Handle any hangnails around the nail edges as well.
③ Lightly buff the nail surface with a fine nail file (only sand the “top layer” of the nail, no need to thin the nail itself) to increase roughness, making the glue stick better.
④ Wipe the natural nail surface with an alcohol pad to remove oil and dust, which also acts as disinfection (a wet wipe can be used as a substitute if no alcohol pad is available).
3. Properly Apply Solid Glue – Control the Amount
① Squeeze a small amount of solid glue onto the rear edge of the press-on, about 1/3 the size of your natural nail. Don’t press the glue with your hands after application (hand oil will affect the glue’s adhesion).
4. Apply the Press-On – Align the Curve
① Take the press-on corresponding to the finger (clean dust and oil from the press-on first), then check its “curve” (the press-on’s curve should match your natural nail’s curve; gently bend the press-on to adjust if they don’t match).
② Hold the press-on and scrape it from the rear edge to the front to evenly spread the glue across the entire press-on.
③ Tilt the press-on at a 45° angle, align it with the nail’s rear edge (leaving a 1-2mm gap), push it forward slightly, then gently press it flat toward the fingertip (check if it’s aligned correctly—adjust before curing with the lamp).
④ Don’t worry if there’s oozing glue at the rear edge (wiping the glue will cause the press-on to shift); cure it with the UV Baking Lamp for 10 seconds to fix the position.
⑤ Use a crystal stick to scrape off excess glue from the fingertip and rear edge, then wipe the nail surface clean with an alcohol pad.
⑥ Cure again for 1-2 minutes, ensuring all sides of the nail are exposed to the lamp until the glue is completely dry.
5. Remove the Press-On – Nourish Natural Nails
① Spray nail remover on the fingertip and wait for about 10 seconds.
② Use a crystal stick to pry open a gap from the front, spray more remover into the gap, and wait for about 30 seconds until the entire press-on can be removed.
③ If residual glue on the press-on can’t be removed easily, spray more remover and gently push it off with the crystal stick, then wipe the press-on clean with an alcohol pad for reuse.
④ After washing hands, apply cuticle oil and massage gently (or hand cream if no cuticle oil is available) to nourish the natural nails.